 Drums for Therapy
  Harps
Harps
 Lyres
Lyres
 Didgeridoo
 Sound Processing
 Mixing Consoles
 Vinyl Players
 Phono Correctors
 Karaoke
 Stands and Holders
 Trolleys
 Computers, Electronics
5 tips for beginners on string instruments
The violin and its relatives from the string family are still among the most popular instruments, not only for beginners with an affinity for classical music. String instruments convince with their melodious sound character and immense versatility. We hope that our tips for beginners will help you take your first steps into the wonderful world of string instruments…
1. The right size of the instrument is crucial for getting started
In fact, the violin, for example, is an instrument that many music students start out with at an early age. So there are various different instrument and bow sizes, tailored to the respective age or body size and the length of the arms, hands and fingers. Ultimately, the decisive factor is the arm length. Here is a table that parents and beginners can use as a rough guide:

At what age can you start? The rule of thumb is that the bigger the instrument, the later kids should start using it. It is simply a question of the manageable dimensions. Here are just a few recommendations:
Violin: The recommended starting age for the violin is around 4 years
Cello: With the cello you should wait a year or two, i.e. start at around 6 or 7 years of age
Double bass: The double bass requires a bigger body size; at around 10 years of age

With string instruments, the support of a music teacher is extremely important, if not indispensable. Grasping the bow correctly, holding the arm correctly and thus getting a straight line is a challenge that should not be underestimated at the beginning. And at the same time you should also look at the notes. An accomplished music teacher guides you, corrects postural errors and motivates you to achieve further success.
2. Adhesive dots / fingerboard markings
The right tool for getting started has been found, the question remains what the first steps look like so that you can make friends with your new darling and achieve motivating learning successes quickly. In contrast to a guitar, for example, a string instrument does not have any frets that you can use to orient yourself in order to play exactly the right notes. You can bridge this with small adhesive dots or a fingerboard marker that you place on the fingerboard. At thomann.de we offer a large selection of different fingerboard markings, just browse this link.
3. Tune the strings precisely, initially with a tuner
Before you start, the instrument has to be carefully tuned, by the way, not only before you play, but also from time to time to control it. One day you will do this purely by ear and a given reference tone. In the beginning it is helpful if you use a digital tuner for this. By the way, you train your hearing while tuning regularly.

Tuner for a violin Yonika T-34
Violin Leonardo LV-1012 (1/2)
Violin Leonardo LV-1034 (3/4)
Violin Leonardo LV-1534 (3/4)
Violin Leonardo LV-2034 (3/4)
4. Draw a bow, use rosin, strike out the first notes
In the next step you will get to know the bow, which is nothing less than an arm extension for your expressive game. So that the bow hair has sufficiently strong adhesion when you stroke the strings, rub the hair – not yours (!) – with a bow resin, the so-called rosin.
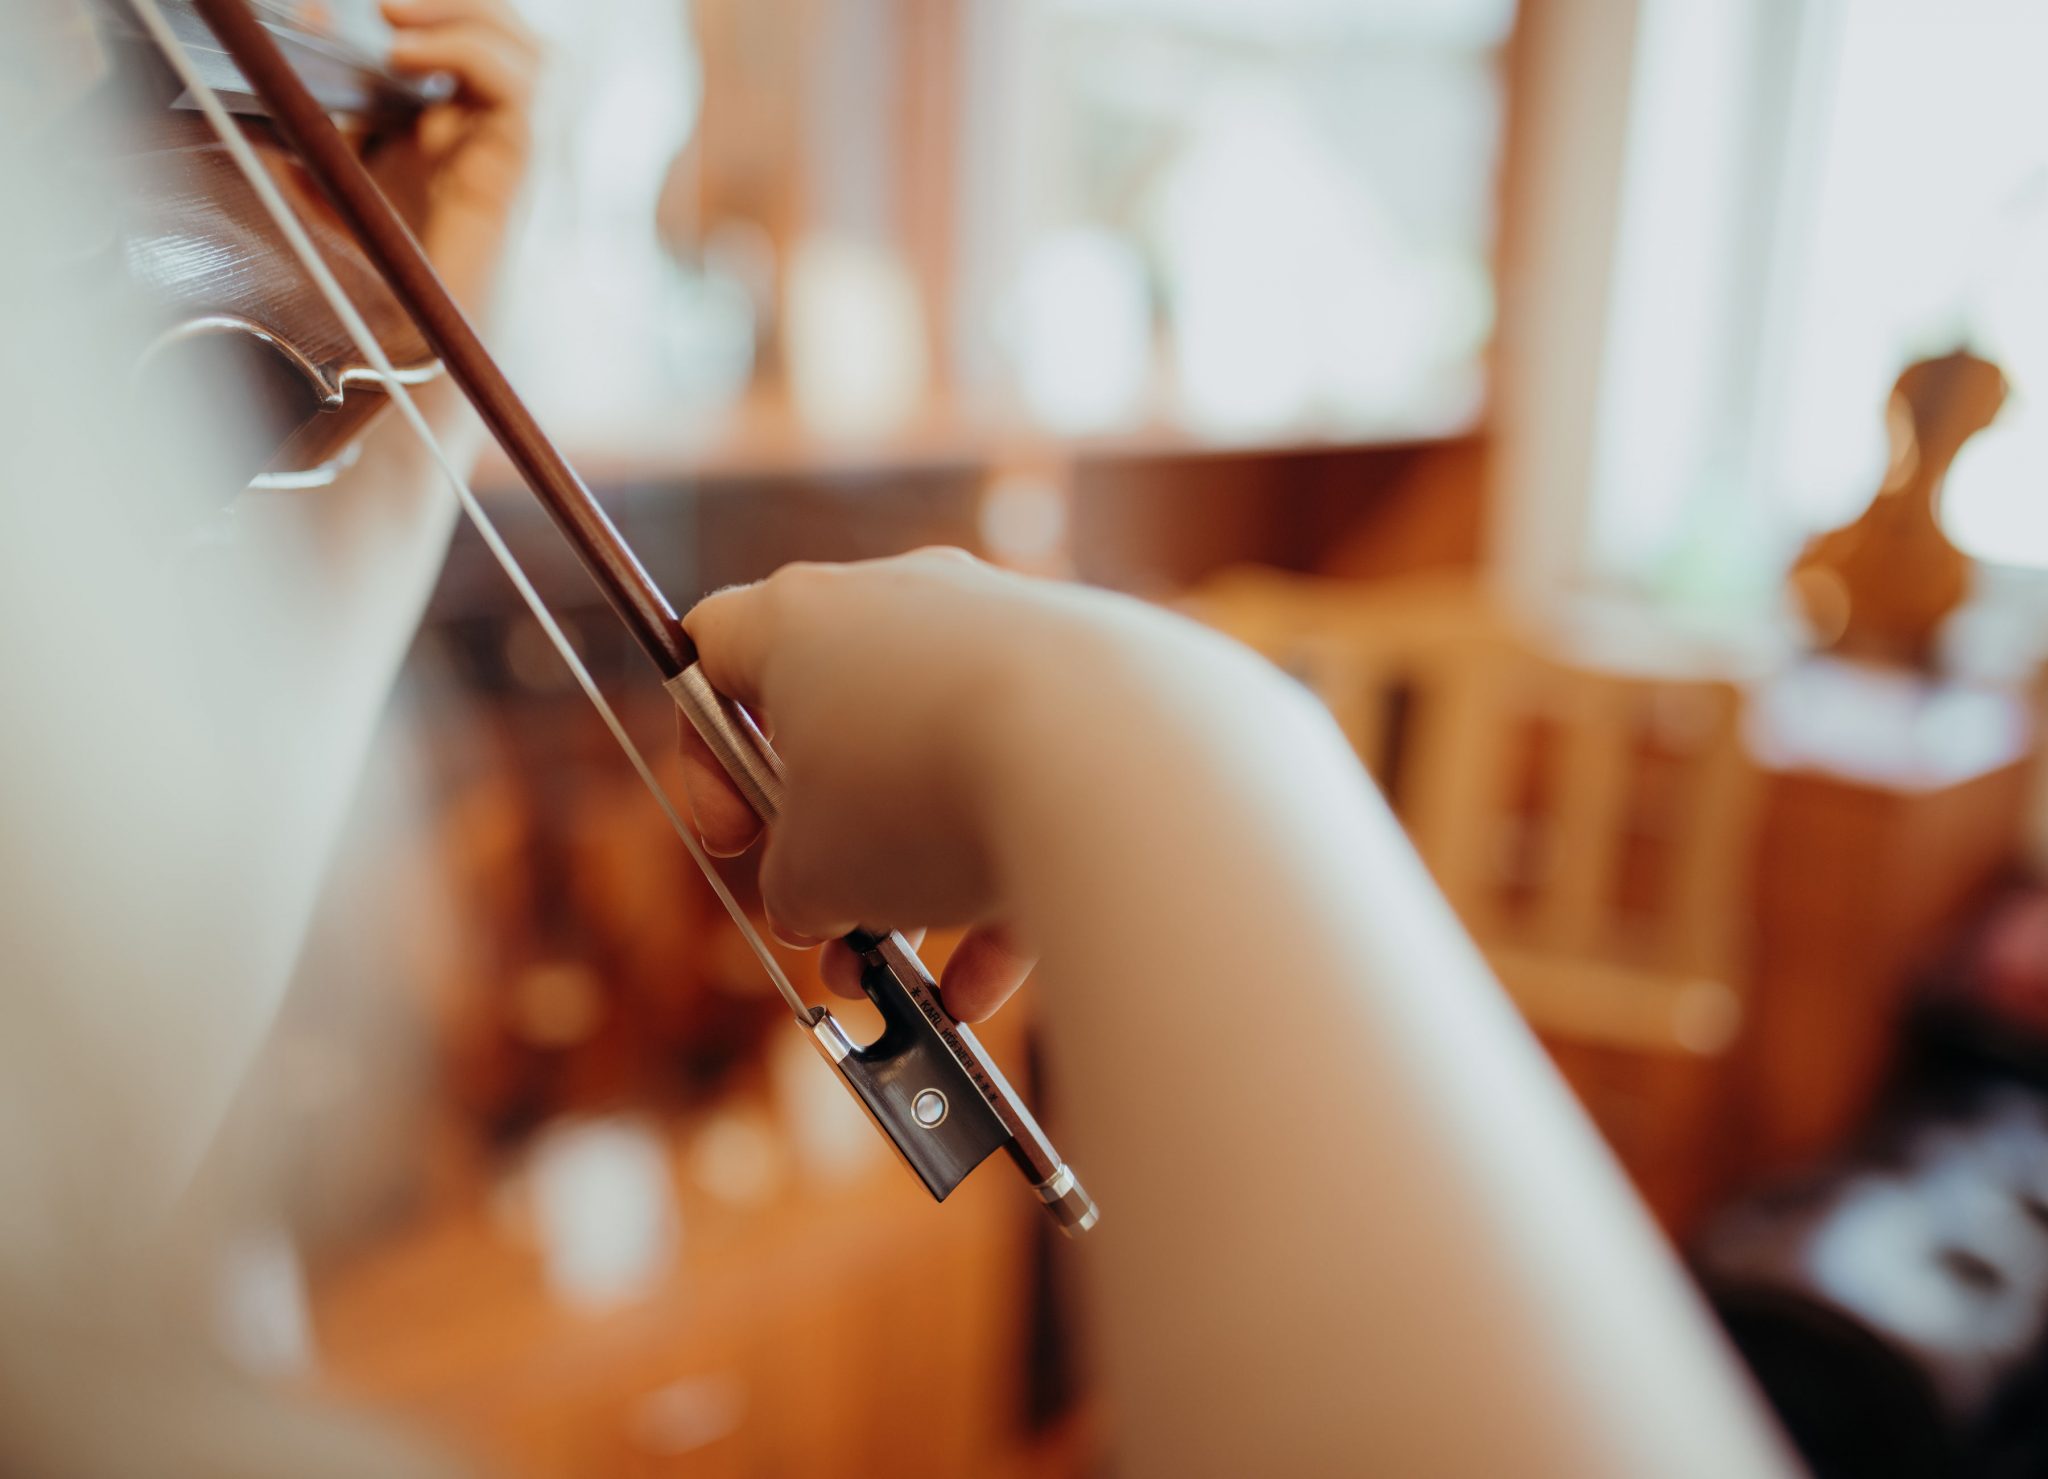
Correct finger position on the bow frog
We dedicate ourselves to the correct bow position: Strangely enough, it has to be as loose as it is stable so that a pleasant tone can be created. To do this, form a circle with your middle finger and thumb. The bent thumb touches the middle finger on the outer finger joint. Now you push the rod of the bow between your fingers. The ring finger and middle finger are bent side by side and placed on the floor bar. In the next step you lift your elbow slightly, whereby the index finger approaches the arch pole and is placed with the middle phalanx on the arch pole. Now the little finger is also bent on the bow stick so that this smallest of the fingers bears the weight of the bow. Done? Excellent!
.jpg)
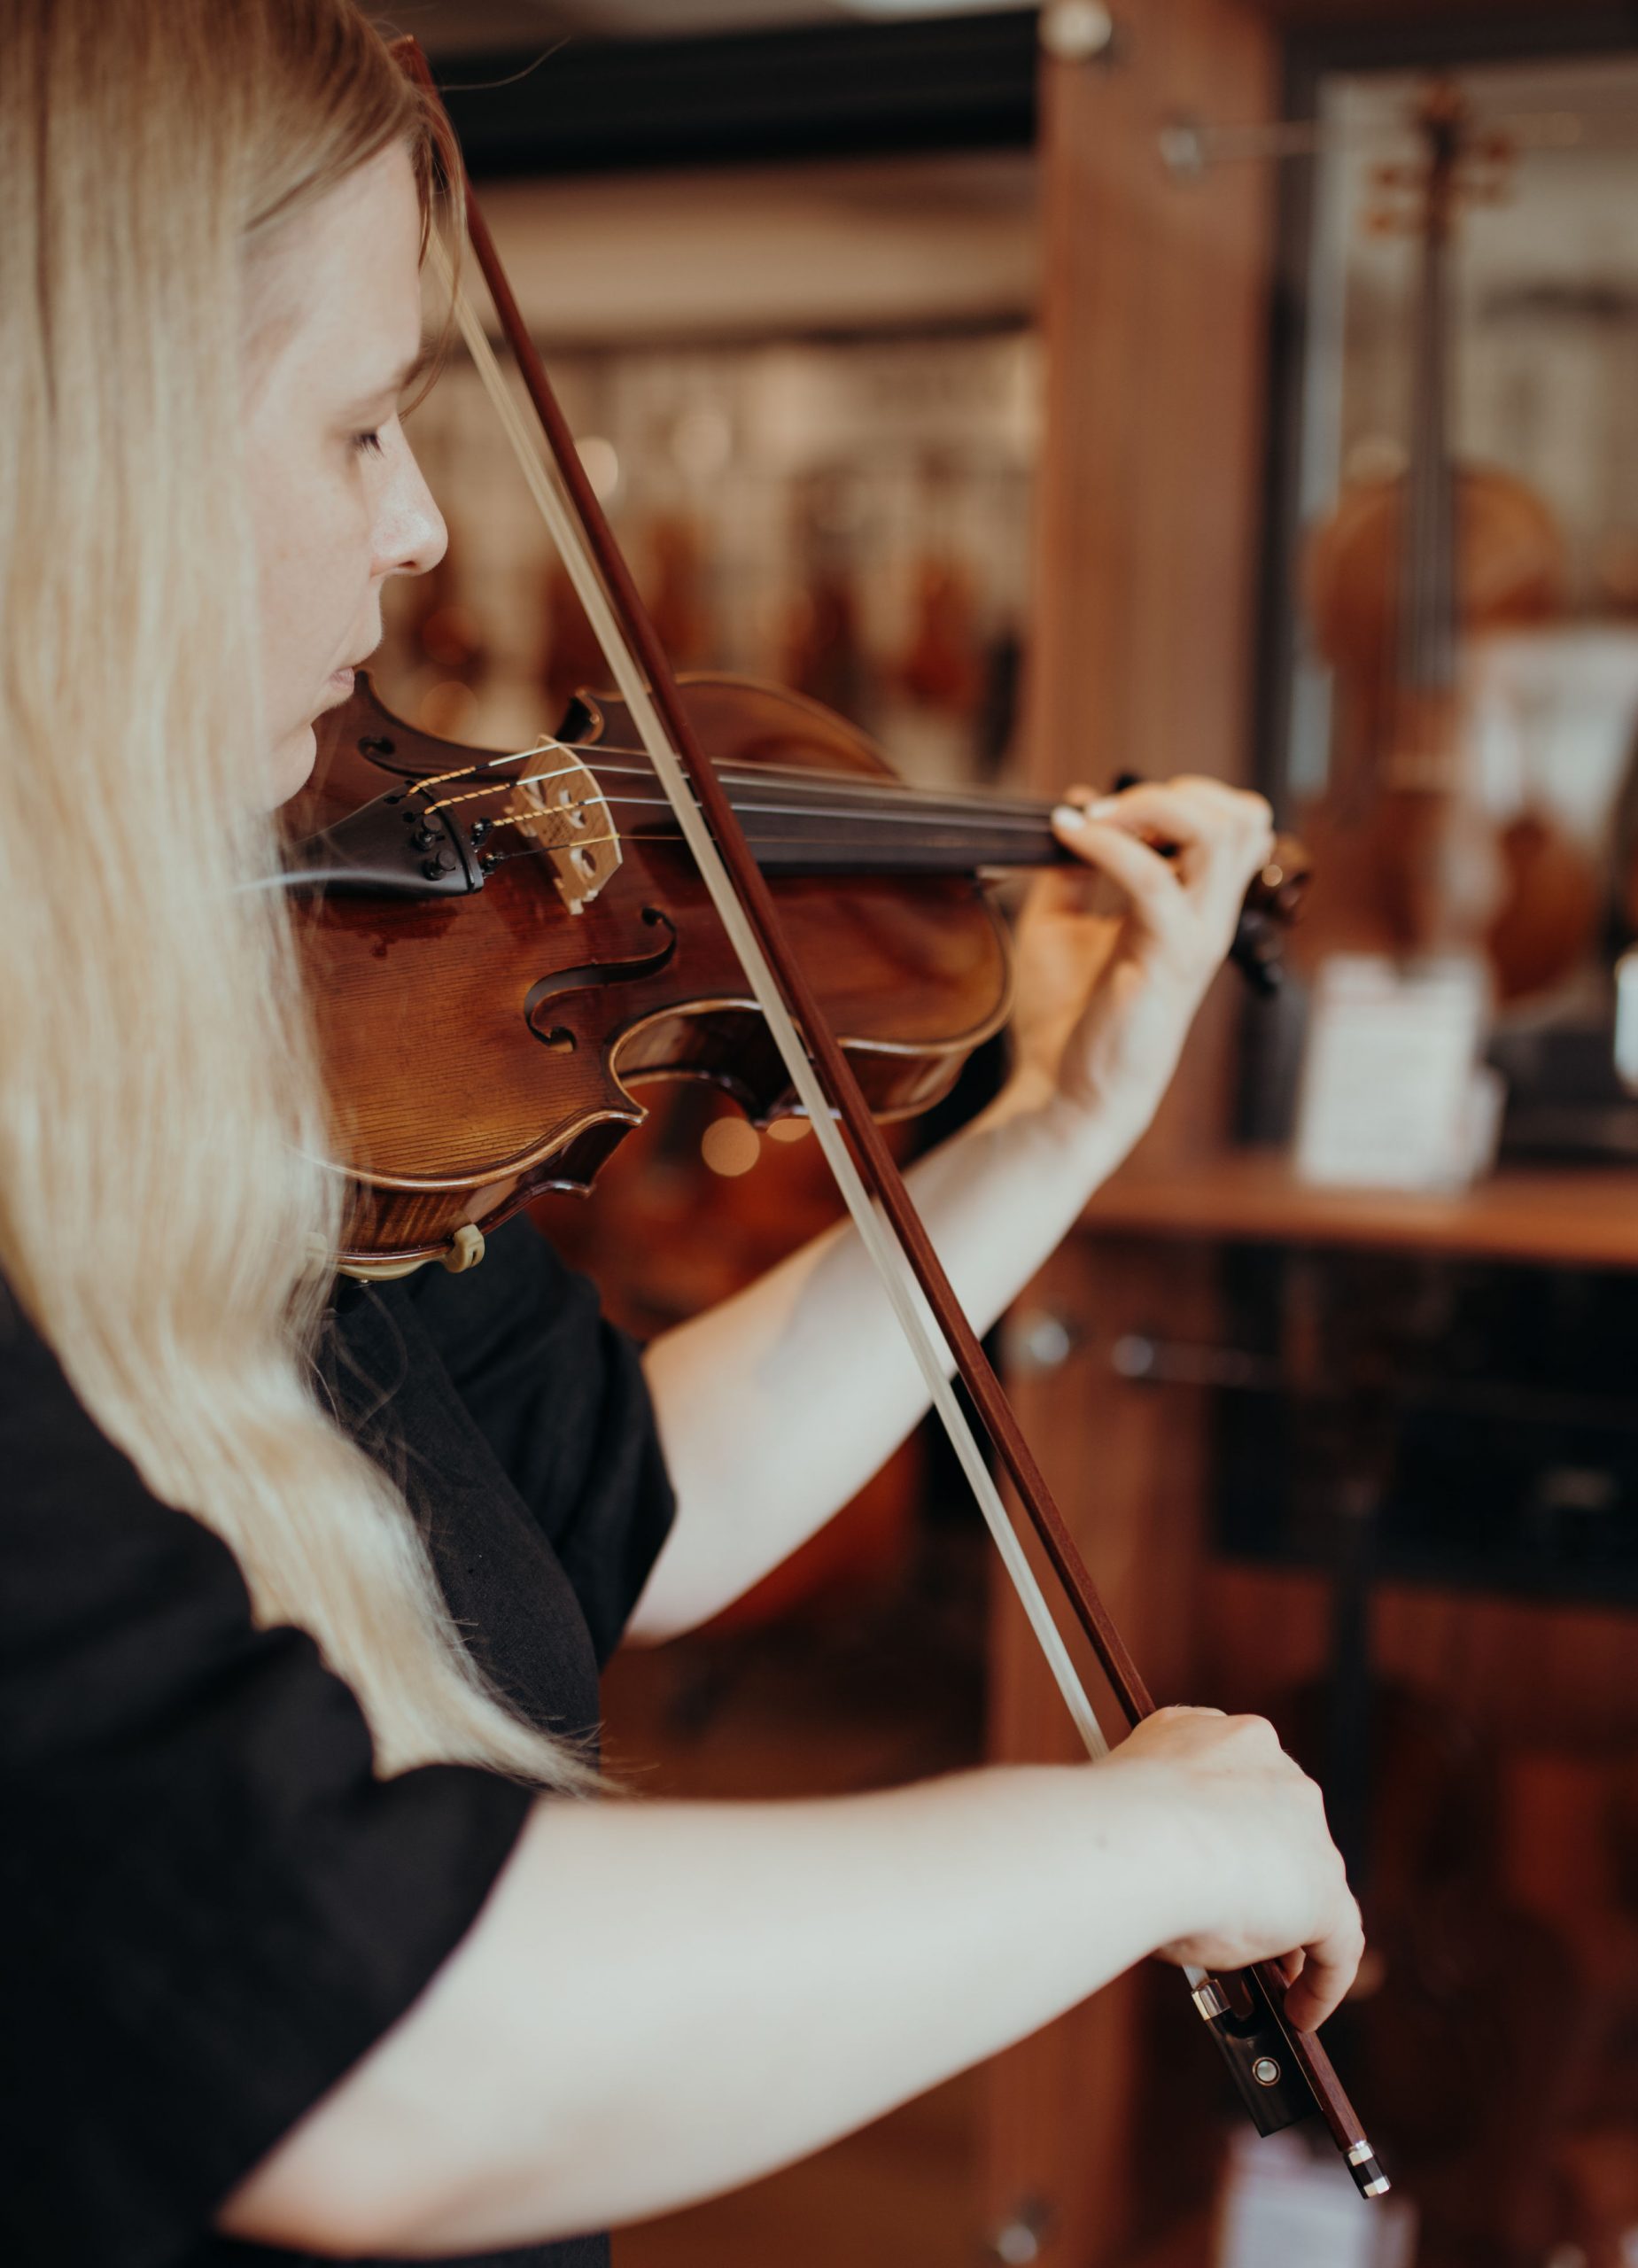
Very mportant goal: the straight line
In the beginning, one of the most important goals is to learn a straight line. First, take the bow in your guide hand, do not just let it fall onto the strings like a saw, but actively guide it. Now you stroke with the bow in alternating long and short movements over a string that is not fingered and develop a feeling for the necessary and not excessive pressure until this sound is pleasant and evenly loud over the entire stroke.
.jpg)
.jpg)
Straight line / bow posture
Be careful not to strike two strings at the same time. The correct finger and arm position must always be checked, as well as the straight line. Don’t worry: at some point it will all be programmed into your “muscle memory” and will work automatically.
Before the first note…
The preparations before and for the first tone are:
- place orientations in the form of adhesive dots on the neck
- tune the violin precisely
- draw a bow and coat the bow hairs with a little rosin
- grip the bow correctly, see above
- pay attention to a straight line and correct arm posture
- experience and feel the bow on the strings
5. Stay loose with gripping hand / Place fingers on meticulously
And the gripping hand comes into play. The orientation points are set, you only take a few notes with which you can play a simple melody. First try to stay on one or two strings at most and play the notes alternately without major interruptions. You will achieve your goal with regular, if possible daily, practice. Remain deliberately reserved and simple. Much more important than the speed is to play really nice-sounding and cleanly intoned notes:
- initially only play a few notes with the gripping hand and pay attention to the harmonious sound
- check the intonation of the individual notes over and over again
- play the first melodies slowly and precisely
- pay attention to the correct finger, arm and body position
- practice regularly, ideally daily
According to thomann.de materials
Related articles

Top 5 stringed instruments
This page is available in Ukrainian and Russian versions at our website

A word to the expert on the violins "Leonardo"
This page is available in Ukrainian and Russian versions at our website

Leonardo violins for future Vivaldi
This page is available in Ukrainian and Russian versions at our website.

Leonardo violins are the young violinist's best choice!
Today Musician.ua will demonstrate models that you can purchase right now. You will definitely not regret it!

Top 3 of Best Violins for Beginners: Leonardo
This page is available in Ukrainian and Russian versions at our website.

Mini-review for violinists: by what the bow is rubbished?
This page is available in Ukrainian and Russian versions at our website
Comments